Custom Brushes
One of the most powerful features of PenCode is the ability to create your own custom brushes. This allows you to go beyond the built-in brushes and define unique textures and shapes for your artwork. This guide provides a more detailed look at the Brush Editor.
This feature is powered by the p5.brush library. To understand how brushes work in depth, you can read more about p5.brush on its GitHub page.
The Brush Editor
To create a custom brush, navigate to the Brushes tab in the workspace and click Create New Brush. After giving your brush a name, you will be taken to the Brush Editor.
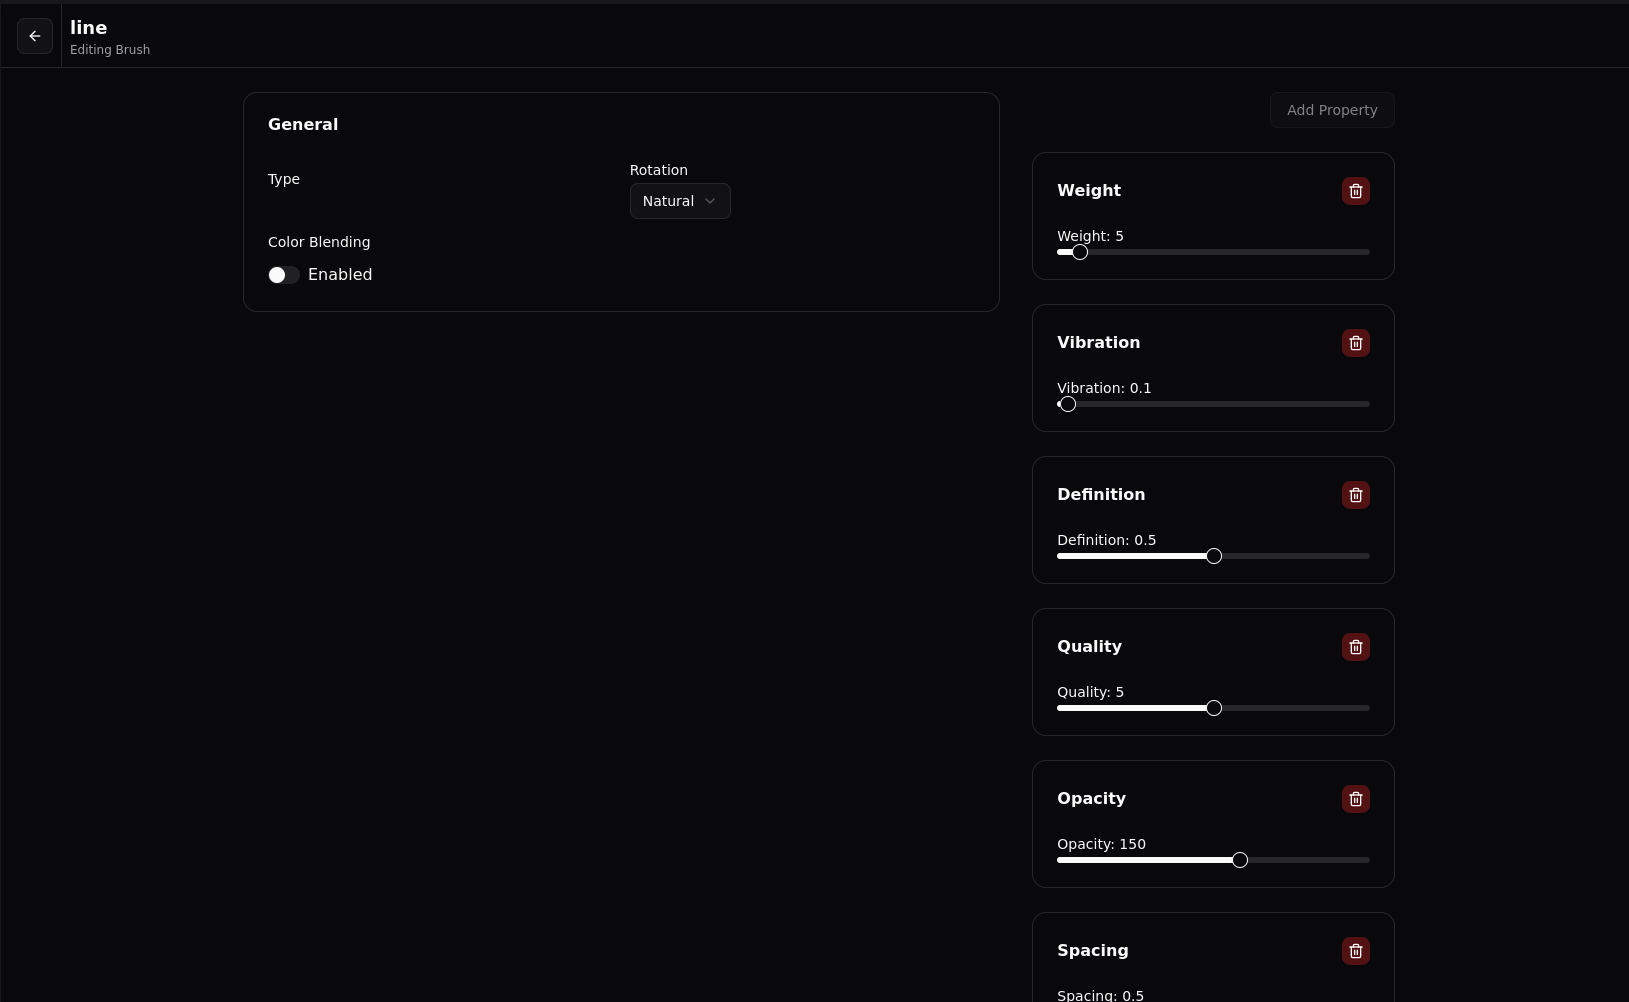
In the Brush Editor, you can define the properties of your brush, including its shape, rotation, and pressure sensitivity.
Brush Modes
When you create a new brush, you can choose between two main modes: standard and custom.
-
Standard Mode: This mode allows you to create a brush by adjusting a set of predefined properties like Weight, Opacity, and Spacing in the UI. You don't need to write any code in this mode. It's the perfect starting point for creating a wide variety of brushes.
-
Custom Mode: This mode gives you complete control over the shape of your brush tip by allowing you to write your own p5.js code. This is a powerful feature for creating unique and complex brush shapes.
Brush Tip Code
You'll need a basic understanding of JavaScript and the p5.js drawing API to write your own brush tip code.
The core of a custom brush is its Tip Code. This is a snippet of JavaScript code that defines the geometry of the brush tip. The code is executed within a p5.js environment, giving you access to the p5.js drawing API.
You have access to a special p5.Graphics object named _m. You draw your brush tip onto this graphics buffer.
Example: A simple circular brush tip
// The _m object is a p5.Graphics buffer where you define the brush tip's shape.
_m.ellipse(0, 0, 20, 20);
Example: A square brush tip
// Use rect mode to draw from the center
_m.rectMode(_m.CENTER);
_m.rect(0, 0, 20, 20);
Brush Properties
These properties are available in the editor's UI and are the primary way you will define a brush when using the Standard Mode. Many of these also affect brushes made in Custom Mode.
- Weight: The size of the brush tip.
- Opacity: The transparency of each brush stamp.
- Spacing: The distance between each application of the brush tip. A lower value creates a smoother line.
- Rotation: Controls how the brush tip rotates as you draw.
naturalfollows the direction of the mouse, whilerandomprovides chaotic rotation. - Vibration: Adds a random offset to each brush stamp, creating a shaky effect.
- Definition: (Standard Mode) A value from 0 to 1 that affects the clarity or sharpness of the brush.
- Quality: (Standard Mode) A higher value results in a more continuous, higher-fidelity line.
Pressure Sensitivity
The Pressure section allows you to control how the brush responds to input from a pressure-sensitive stylus.
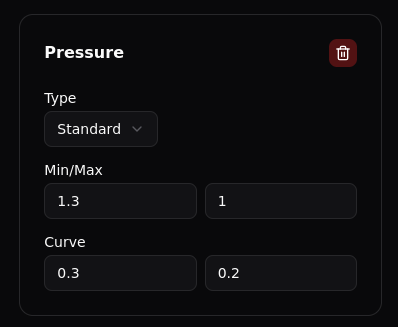
- Min/Max: These values control the range of the brush's size or opacity based on pressure. For example, a min/max of
[0.5, 2]for weight would make the brush line thinner with light pressure and thicker with heavy pressure.
Using Your Custom Brush
Once you have created and saved your custom brush (the editor saves automatically), you can use it in your drawings just like any other brush, by referencing the name you gave it.
// Assuming you created a brush named 'my-cool-brush'
Brush(type: 'my-cool-brush', color: 'purple', size: 20),

// Draw a line with your custom brush
Line(x: 0, y: 0, x2: 100, y2: 0)